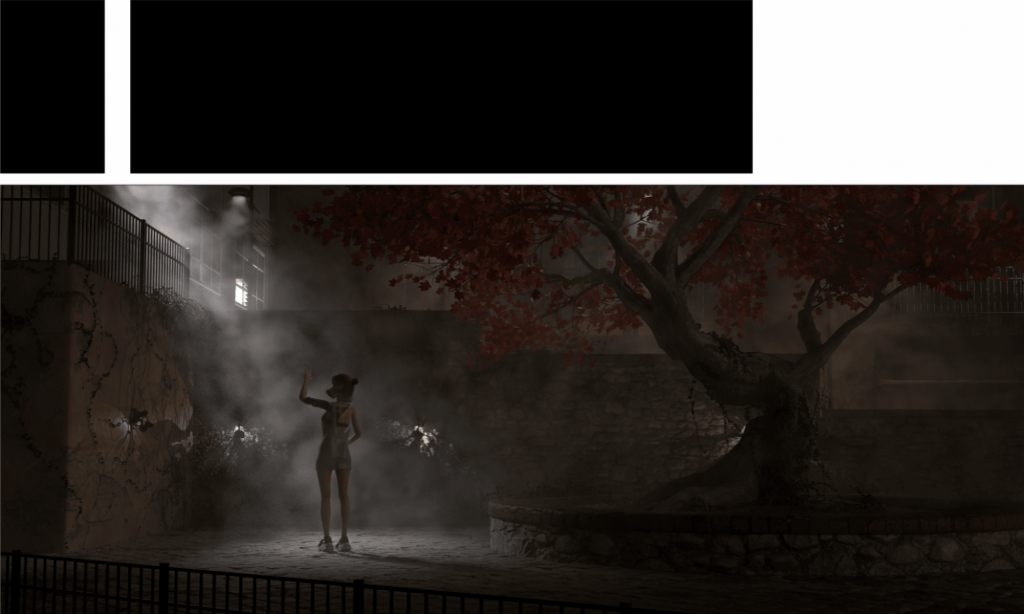
This week I learned somethings about the foundation of green screen. Some basic information about selecting the specific areas in different ways. We have learned about luminance, saturation and hue. The main idea of the colourspace transfer is similar with the colour lab in photoshop and so on. In addition to this, we learned some simple techniques to process different channels to obtain a specific areas through basic arithmetic.
S2.W7_Nuke
This week we are asked to roto the machine sequence. I have tried both two idea to get a correct alpha.
One of the method is easier. Only using a certain fix frame to project it on card which is at a correct position and we can get a property result by a correct render through a tracking camera. Another one is a little complex I use two project node to finish it. I think the both two way have been told in two weeks ago, so I did not explain too much here just post a screen-print.
S2.W6_Nuke
This week we have learned how could we combine different layers from certain render. I have used v-ray, Arnold and mantra render. So It’s not difficult for me to mix different AOVs. Once I understand the principle of render each step will be more clear.
Besides that, Mr. Gonzalo has showed us the function of utility textures such as Position, Normal, Depth and so on. Although, some utility textures’ name is different in different render, the main idea is similar. We can use them to rebuild light or make a Len’s effects.
S2.W5_Nuke
This week we have learned more examples about the project node. In certain statistic building scene it is a really fast way to patch or add something in images by the project node. We mainly learned two interesting ideas to come true some amazing results. Firstly, we can use the project camera to map certain frame information to realistic space coordinates in the nuke 3D view. Then we can operate what we want in the single frame and use the tracking camera to render the whole images again. Finally the patch elements will be automatically catch to the moving. However, a issue we have to focus on. Almost all ideas can skip the frame hold node which means we the patch area is just a single frame and we only use one single information to cover the whole sequence.
Another idea kinds solve the problem. We used the tracking camera to map the whole sequence to the realistic coordinate. What will happen then? We can collect and fix the whole information of a certain object. The result is that certain object color information will be limit in a fixed position in nuke 3D viewer. We can use certain great frame to render a cache image and change anything we like at the same time. Finally, use the tracking camera to render the finally images.
S2.W4_Nuke
The week 4 we have studied deeper functions of 3D camera tracking. The first interesting new method to remove some specific patches is the node of the project. I froze a certain frame to roto paint for removing some useless patches. Then I froze the same frame again to hold the result of roto paint again.
Now the question is that the patches can’t follow the camera to move. So I project the image to a grid that catches the same position with tracking cloud information. Besides, I need to freeze the same frame as before, otherwise, the image will shift in the grid by each frame.
Then I use the original camera to render the scene again, I can get the patch to catch the camera moving. What I did like to extract an image to fix to a wall and use the original moving camera to render again.
But this method has a major disadvantage. At the same time as the first froze the frame, it also froze the shadows. This method cannot be used when there are large variations in light and shade. So I learned another method.
We use the node of the project to replace the node of the frame hold. Stabilisation of the picture with little distortion helps us to finish roto painting.
S2.W3_Nuke
This week we learned some new things about 3d Tracker which is similar to the 3D equalizer.
The main workflow and principle are the same with other tacker software, however when I want to re-distort the image the side of the image will have some errors such as the below image.
S2.W2_Nuke
This week we almost finished all the methods to remove markers. I will collect all methods by my own understanding and I won’t post some simple way that does not get a great result.
The first method I want to call the High and low-frequency method because this way of the principle is very similar to the PS. The way separate images into two parts by dividing node. One of them records the low-frequency information without detail only having colours and another one has high-frequency detail. Then only changing the high-frequency detail and combining them, we can get a nice result. There is a more advanced skill for fixing the high-frequency detail. I can transfer the original images a little to get similar detail instead of roto paint.
The second way is Roto paint which uses a patch directly to cover the marker. We have an advanced method to track each pixel, smart vector node. The node is different from the track node. the smart vector can analyze each pixel vector information in different channels for each frame. Then the VectorDistort node will transfer raw data of the vector to use by other nodes.
The third way is to fill pixels by unpremult node.
Except the third method is a little different principle from others, the main aim of methods is to cover the marker by other pixels in a specific frame, then track the position to cover the marker in the whole sequence. We use a different way to improve each workflow for saving time and reduce work pressure to avoid painting each frame.
Homework link
This sequence is not easy to track even I tried my best to adjust the colour to extract more contrast. Such as the picture below, the left line I want to divide the picture into two parts and one of the parts will keep colour, another one keep other information. Then I use rotopaint node to cover the marker shape and copy the marker transform position to the rotopaint node. However, the result is not perfect, because the specific marker in cheekbones has obviously changed of shadow and shape deformation. I combine another method to solve certain frames and mix them in end.
For the other 5 markers, I found that if I adjust all tracker positions and each error in different frames, will cost too much time. So I directly use a simple workflow to remove all markers like below. Although there are some node is different with what I learned in class, the principle is the same. I use rotoPaint3 to cover other markers frame by frame.
For adding a texture to the sequence, I directly use a texture and copy tracking information to it, then it works which can attach the face to move.
S2.W1_Nuke
The first step for the raw sequence is to denoise for a better result of the track. The reason exports the file and reads again is to reduce the stress of the CPU to save more resources for other important steps.
This Part is for remove light by the roto paint node. Because I don’t export Alpha channel in the RotoPaint1 so I recreate The Roto1 node to draw a alpha shape covering the old one. Then I blur the edge a little and premult RGB with alpha. Finally hold the Frame to keep the image same.
Catching the patch to the footage correctly, I transfer the three point tracker information to the new image which is frameholded.
Once I merge the raw sequence and the patch, I almost get good result. However, the tiny grains is not correct. To see the problem obviously, I need extract the tiny noise. The input sequence is divided into two ways to extract noise and enhanced them. Secondly, select higher value color, which shoule be the noise, to merge. In this process, adding grades and colorcorrect node is helpful for enhance the noise. Then puls the extracted noise to the raw sequence and I can get a specific result to check the tiny grain.
The next stage is removing markers. The princlple is same to solve the different shadow. I want keep the skin detial excpet the color so use divide node to seperate the image which mathmatic should like A/B. Then, I multiply the raw image to merge12 which mathmatic shoule be A/B*B =A. So I get the raw detail and new color on it. However the result is not perfect, I need to change the scale of transform node, the size of blur node, grain node and colorcorrect.
Learning journal Week_8_NUKE
I have tried to use a tracer node to track the corn of the phone, then roto the finger to mask the screen.
Learning journal Week_6_NUKE
During the week I experimented with Nuke’s roto node, roto paint node and tracker node And try to pass the information from the tracker node to the roto mask, so that the roto mask can follow the object’s movement.
Through this week I have learnt the importance of masking in the film industry. A lot of elements in the pre-production work need to be fixed in advance to get a good result.