I created a total of 10 different plants, replicated randomly by some simple scaling, and rotating transformations. In Houdini, I first created some blocks to replace the city model and then I created some random points on the ground. Search through the point cloud and if a building block can be searched within 0.5m of the point, delete the point.
S2.W7_maya
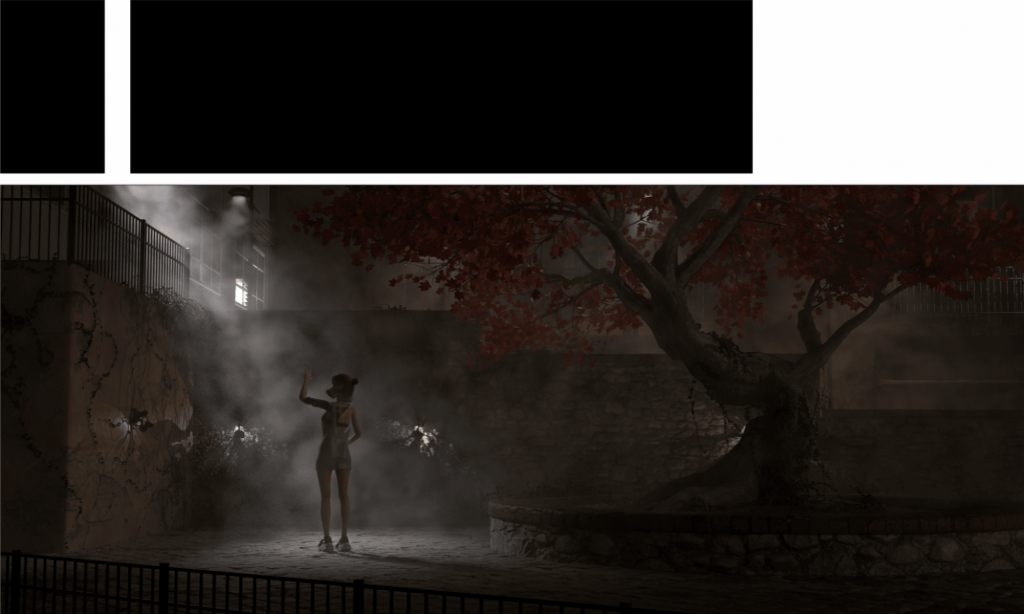
This week, I have rendered all factors in the Arnold render. I used three rectangle light to make the shadow of the old machine catch the raw sequence. one more important thing is the color space. When the rendering finished the default color space is srgb, we have to change the setting in nuke same as Arnold.
S2.W5_Maya
I have finished textures in the week. After updating the substance painter to newest one, these is something changed. Especially for different materials in one model, it is a little wired to split them into different parts to paint. Besides, there is some problems for baking AO and normal textures. Sometimes I don’t want components to affect AO textures each other, I only want to them to affect themselves although I use different color to control area, the result is not perfect and it also take much time to try. So although the substance painter is a easier way to finish textures, the workflow is not clear and the software can’t support Arnold materials well. I have to transfer them to Maya standard material such as Lambert material. The utility textures is really helpful for smart material which can save much time, I hope the Adobe will improve the workflow in future. And another problem is applying textures in maya. I have to import each textures what I have finished in Substance painter. When the the number of objects is large, reapplying same result in maya is a crazing work.
S2.W6_Maya
I export tracking camera information to Maya scene from Nuke. The first time test is not good because I notice that the scene cannot catch the models. I found the tacker point is not as much as good. After I delete some useless point it work well. Then I adjust the position of model to make it have a correct angle and make it look good.
S2.W3_Maya
this week We have learned about constraint and animation. Because keying frame is a little complex, I just create a circle as a controller and using script to links each element together . If I want to change speed at any frames I can only changing one parameter to control all things. Then I used some noise function to control the speed of wheels.
We also learned something about mash. I am also interested in the workflow of the mash UI, however I hardly ever used the mash part in maya, so I will cost more time to know more about these.
S2W2Maya
For the machine example of Mr Nick Savy, I noticed that he added a key to the model UV offset to “cheat” eyes. However, in this way, a UV map is required to unfold to a specific type otherwise, we will get a wired result. Besides, he made a blender shape for the belt and the tiny shaking will make the belt look like working normally.
For myself, I really like to make a steam machine such as the reference images.
Based on the old machine, I will add a belt to it. Now I almost finished half of the model. Such as below:
The steam will push the stick to support power for the wheel. Then I want to add another wheel to change the kinetic energy direction.
Learning journal Week_8
This week I started to build the eyes and fur. I build a simple hair shape by low polygon models to check the outline of the head. The, building the amazing eyes which was divide to three parts.
I have already finished some human before, so the workflow is clear for me. After put some lights in the scene, the result such as below:
Compared to before model, I add the micro fur for the face. Maybe it’s hard to recognize, it is actually effect the final result.
Learning journal Week_5
In this lesson I tried to build a similar interior environment, drawing detailed replacement maps and normal maps. I also used Maya’s fabric system to simulate a wind field.
Due to time constraints, I was not able to add more detail to add realism to the image. But I did get to practice the process of modelling in Maya and even experienced the dynamics module of Maya.
Learning journal Week_7
In week 7 I have tried to make a new human model based on the DAZ 3d. I chose the base model body from Daz3D and started to edit the head in the Zbrush. The first step is to add detail to the ears, eyes mouth, nose and so on. When increasing the object subdivide level, the head needs to be added appropriately detail. Then I used the XYZ human textures to paint different textures in Mari.
I have thought that my PC which contains more than 200G Ram is enough for a high subdivided level in the Zbrush, however when I import the displacement into the whole body in level 7 subdivide the Zbrush notices that my PC has insufficient Ram for processing even the RAM only used around 50G (25%). I have to separate the head and body to handle the problem and I must care about the problem multitexture between the sew parts of two objects. Some problems in the side of different UDIM testures like the blow picture show. There is a obviously edge to divide the model.
Throughing the Layer and morph target, I fixed the mainly problem. After I export the displacement, it also need to be mixed in Photoshop carefully and I get the result like the picture below.
For the animation part, both the building controner or skining the animation is not easy. After I know the principle and basecial step to make shape blend, I use the Advanced skeleton to make the joint and controners and paint the skin by the ngSkintool.
Learning journal Week_6
What I have done in this week:
Recently I joined short video teamwork for a certain one’s graduation product. After frequency communication, I have further understanding of how important the workflow or the standard work pipe is. Someone only transformed the .mb file to me however, when I tried to load the scene the system notice I lack some reference and colour manage files. In other respects, I found that not everyone knows about the whole workflow even don’t know what the next step needs to do. This is the problem that they can not export the appropriate format file for the next process.
For this week what I learned, the animation module of Maya has always been my weak point. Not only the skills of the Joints, Skins and Controller but also the principle of the animation. Some essential tiny animation of humans is hard to obvious but this small shake or front swing make the animation look vivid and realistic.