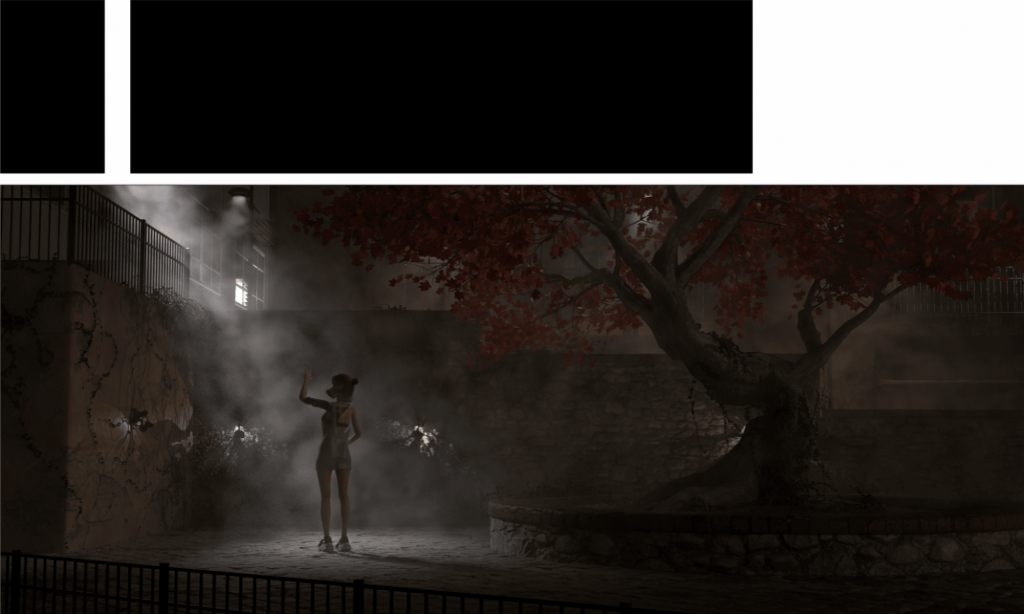
Collaborative Project Progression

We have completed a part of the project excellent. I am sure that in the constant exchange of ideas, each member of the group learned something new, and in particular, I learned many key details from the whole project. I kicked off the whole project with the main idea but a lot of the details were perfected by my team members. Even though we had dovetailed most of the workflow in advance, there were still unexpected errors. For example, when the modeller packaged the entire project file for me, I found that I couldn’t merge the two project files. When I select my project file, I cannot open the Maya file in another project file properly because there are errors. These errors cause the mapping path to be missing and the reference file to be missing. Another problem is when the animator copies the file to me, if I then delete some polygon, the reference file is automatically invalidated and cannot be read correctly when I open it again.

I also learned a lot of new skills through this project, such as some Houdini effects.

To practice the houdini particles and fabrics section, I made a small demo to familiarize myself with the different panels of houdini. In addition to special effects, I also practised parametric modelling.

In addition to this, I also practiced volume and fluid.

Because one of our group members dropped out, I needed to learn an extra part of the fabric and solve fabrc. At first, I planned to finish the model in MD and then solve it in Houdini. It turned out to be too expensive to learn in Houdini and all the fabrics were done in MD.

S2.W8_Nuke

This week I learned somethings about the foundation of green screen. Some basic information about selecting the specific areas in different ways. We have learned about luminance, saturation and hue. The main idea of the colourspace transfer is similar with the colour lab in photoshop and so on. In addition to this, we learned some simple techniques to process different channels to obtain a specific areas through basic arithmetic.

S2.W7_Nuke

This week we are asked to roto the machine sequence. I have tried both two idea to get a correct alpha.

One of the method is easier. Only using a certain fix frame to project it on card which is at a correct position and we can get a property result by a correct render through a tracking camera. Another one is a little complex I use two project node to finish it. I think the both two way have been told in two weeks ago, so I did not explain too much here just post a screen-print.

S2.W6_Nuke

This week we have learned how could we combine different layers from certain render. I have used v-ray, Arnold and mantra render. So It’s not difficult for me to mix different AOVs. Once I understand the principle of render each step will be more clear.

Besides that, Mr. Gonzalo has showed us the function of utility textures such as Position, Normal, Depth and so on. Although, some utility textures’ name is different in different render, the main idea is similar. We can use them to rebuild light or make a Len’s effects.

S2.W5_Nuke

This week we have learned more examples about the project node. In certain statistic building scene it is a really fast way to patch or add something in images by the project node. We mainly learned two interesting ideas to come true some amazing results. Firstly, we can use the project camera to map certain frame information to realistic space coordinates in the nuke 3D view. Then we can operate what we want in the single frame and use the tracking camera to render the whole images again. Finally the patch elements will be automatically catch to the moving. However, a issue we have to focus on. Almost all ideas can skip the frame hold node which means we the patch area is just a single frame and we only use one single information to cover the whole sequence.

Another idea kinds solve the problem. We used the tracking camera to map the whole sequence to the realistic coordinate. What will happen then? We can collect and fix the whole information of a certain object. The result is that certain object color information will be limit in a fixed position in nuke 3D viewer. We can use certain great frame to render a cache image and change anything we like at the same time. Finally, use the tracking camera to render the finally images.