This week, I have rendered all factors in the Arnold render. I used three rectangle light to make the shadow of the old machine catch the raw sequence. one more important thing is the color space. When the rendering finished the default color space is srgb, we have to change the setting in nuke same as Arnold.
S2.W5_Maya
I have finished textures in the week. After updating the substance painter to newest one, these is something changed. Especially for different materials in one model, it is a little wired to split them into different parts to paint. Besides, there is some problems for baking AO and normal textures. Sometimes I don’t want components to affect AO textures each other, I only want to them to affect themselves although I use different color to control area, the result is not perfect and it also take much time to try. So although the substance painter is a easier way to finish textures, the workflow is not clear and the software can’t support Arnold materials well. I have to transfer them to Maya standard material such as Lambert material. The utility textures is really helpful for smart material which can save much time, I hope the Adobe will improve the workflow in future. And another problem is applying textures in maya. I have to import each textures what I have finished in Substance painter. When the the number of objects is large, reapplying same result in maya is a crazing work.
S2.W6_Maya
I export tracking camera information to Maya scene from Nuke. The first time test is not good because I notice that the scene cannot catch the models. I found the tacker point is not as much as good. After I delete some useless point it work well. Then I adjust the position of model to make it have a correct angle and make it look good.
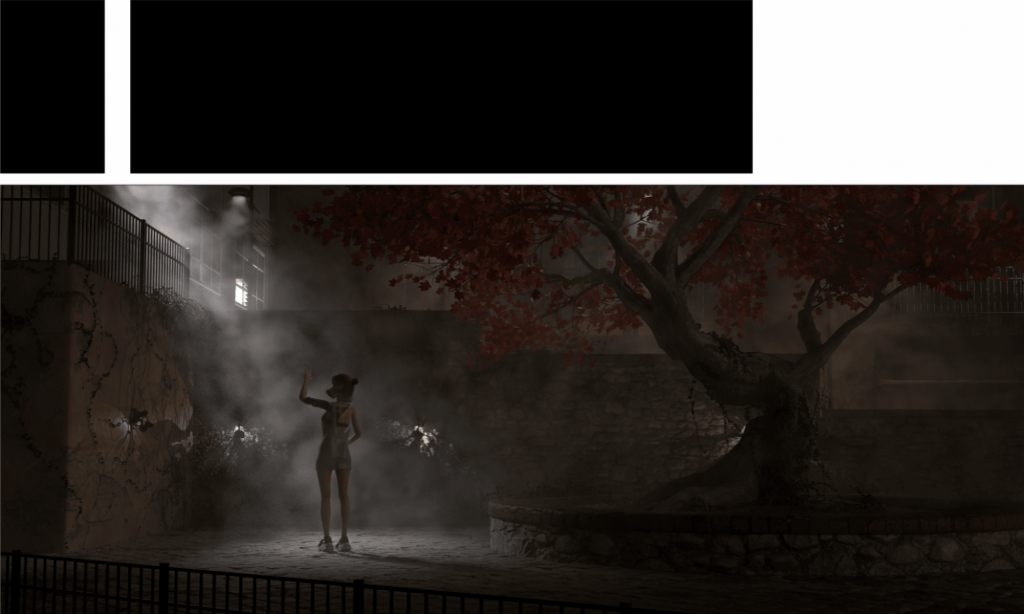
Collaborative Unit_w4
I have talked several times with my animation team member to improve the rhythm of the animation and fix some problems.
at the same time, I was prepared to solve the flip in Houdini.
This week We finished the p1c3,p1c4,p3c3 animation and We are going to finish p1c2, and p4 animation. My partner YingYue Feng and I always talk how could we improve animation detail such as blow. Because we have an extreme close lens for the foot, we have to handle the toe rotation well.
Because one of our members quit our group, we need to share her jobs such as the clothe and some visual effects about clothes. I am designing new clothes for the girl because the old version almost can not be used. Before that, I also found some problems with skin weight and I start to solve them.
To save resources I delete some parts which is not in the camera view.
In a word, we continue to communicate deeper for the animation of the character and fix the tiny problems this week. The model art starts to build environment objects to make the scene rich. Everything is going well even we lose one partner I trust we can handle the project.
Collaborative Unit_w3
In the third week, we established a very detailed production plan and a division of labour among the group members. We also discussed and decided on the content of the footage we needed to produce.
P1c1: Medium shot, the camera panning to follow. The view follows the leaves as they drift down and finally land on the tip of the lance.
P2c1: Close up, the camera fixed. The lance is awakened and activated, starting to shake and vibrate.
P2c2: Panoramic view, camera surround. Panoramic view of the lance as the whole lance is surrounded by the hostile aura of the soul
P2c3: Close-up, camera fixed. The heroine’s feet splash against the water as she runs past
P3c1: Panorama, the camera panning to follow. The heroine runs towards the centre of the scene, right hand raised, lance in hand.
P3c2: panorama, camera pans to follow. Part of the heroine’s gun dance.
P3c3: Close up, the camera pans back. Lance flying up ready to articulate the special scene.
P3c4: close-up, camera pans forward. Lance drops down for the scene to the memory section.
This week I also finished modelling the trees in Speedtree.
S2.W4_Nuke
The week 4 we have studied deeper functions of 3D camera tracking. The first interesting new method to remove some specific patches is the node of the project. I froze a certain frame to roto paint for removing some useless patches. Then I froze the same frame again to hold the result of roto paint again.
Now the question is that the patches can’t follow the camera to move. So I project the image to a grid that catches the same position with tracking cloud information. Besides, I need to freeze the same frame as before, otherwise, the image will shift in the grid by each frame.
Then I use the original camera to render the scene again, I can get the patch to catch the camera moving. What I did like to extract an image to fix to a wall and use the original moving camera to render again.
But this method has a major disadvantage. At the same time as the first froze the frame, it also froze the shadows. This method cannot be used when there are large variations in light and shade. So I learned another method.
We use the node of the project to replace the node of the frame hold. Stabilisation of the picture with little distortion helps us to finish roto painting.